Building My Homelab — Why Proxmox on Lenovo Tiny PC Is the Perfect Combo

Introduction
Diving into the world of Homelabbing, I wanted a setup that was both powerful and compact. with my recently acquired Lenovo Tiny PC, and after extensive research, I chose Proxmox Virtual Environment as my hypervisor platform. This article outlines the why and how of my journey, and why Proxmox turned out to be the ideal solution for my needs.
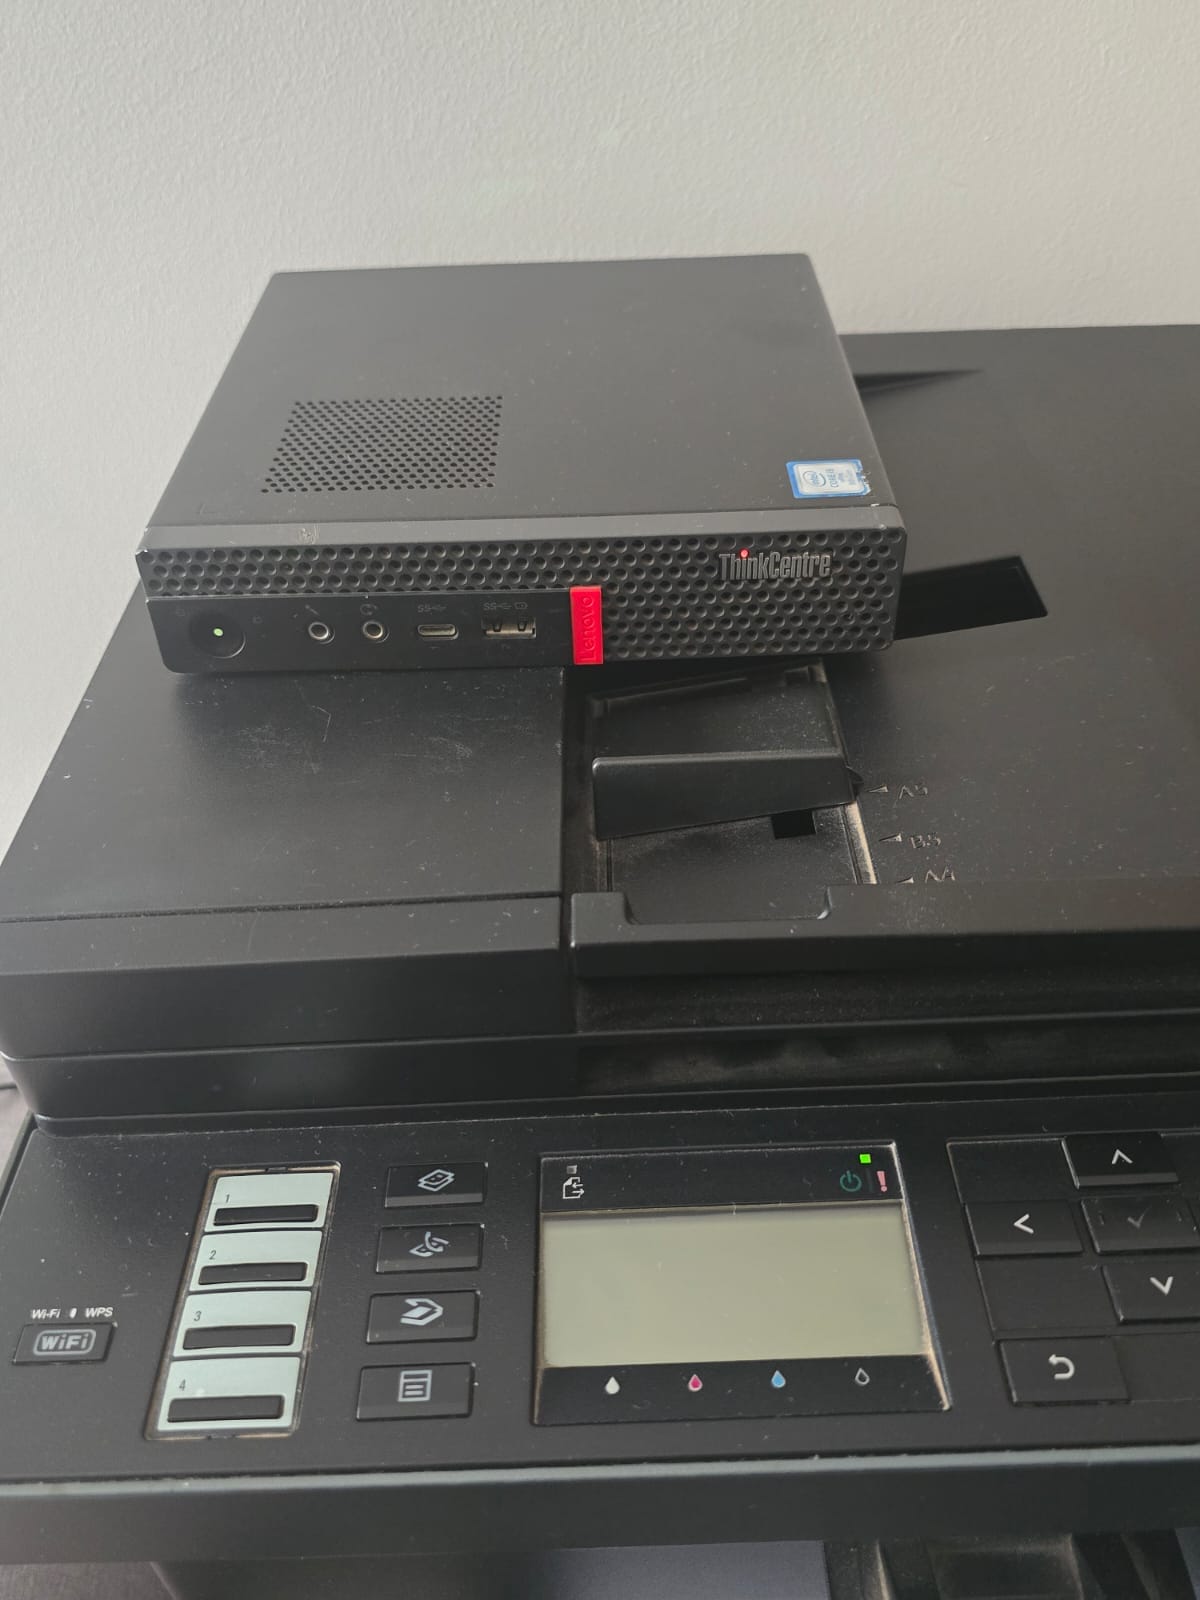
Why Lenovo Tiny PC?
The Lenovo Tiny series packs surprising muscle in a small footprint. Its energy efficiency, quiet operation, and upgradable RAM/SSD made it a perfect candidate for a home server. Plus, mini PCs like these blend seamlessly into anywhere—no server rack required.
Why I Chose Proxmox
After evaluating alternatives like VMware ESXi, VirtualBox, Proxmox stood out for several key reasons:
- Open Source and Free: Unlike many enterprise hypervisors Locked behind paywalls, Proxmox offers all its features without licensing fees or costly subscriptions.
- Centralized Management: The web-based UI makes it easy to manage VMs, containers, networking, and storage from anywhere in my local network.
- Containers and VMs: Proxmox supports full virtualization (using KVM) and lightweight Linux containers (LXC), meaning I can run resource-efficient services alongside heavier Windows or Linux VMs.
- Enterprise Features for Enthusiasts:
- High Availability (HA) clustering, easy snapshots, backups, and even live migration—all free.
- ZFS support, VirtioFS file shares, VLANs, and advanced networking out of the box.
- Active Community and Documentation: Whenever I hit a snag, the community forums, wikis, and YouTube guides offered plenty of help.
- Perfect for Repurposed Hardware: Proxmox runs beautifully on older PCs and mini-PCs, making it perfect for homelabbers on a budget.
My Proxmox Installation Experience
Installation was a breeze:
- Download the Proxmox ISO: From the official site, I grabbed the latest release.
- Create a Bootable USB: Used Ventoy to make the USB drive.
- BIOS Setup: Enabled virtualization in BIOS, set USB as the primary boot device.
- Installer Wizard: The graphical installer auto-detected hardware; I partitioned my SSD, named the node, set passwords, and let Proxmox do the rest.
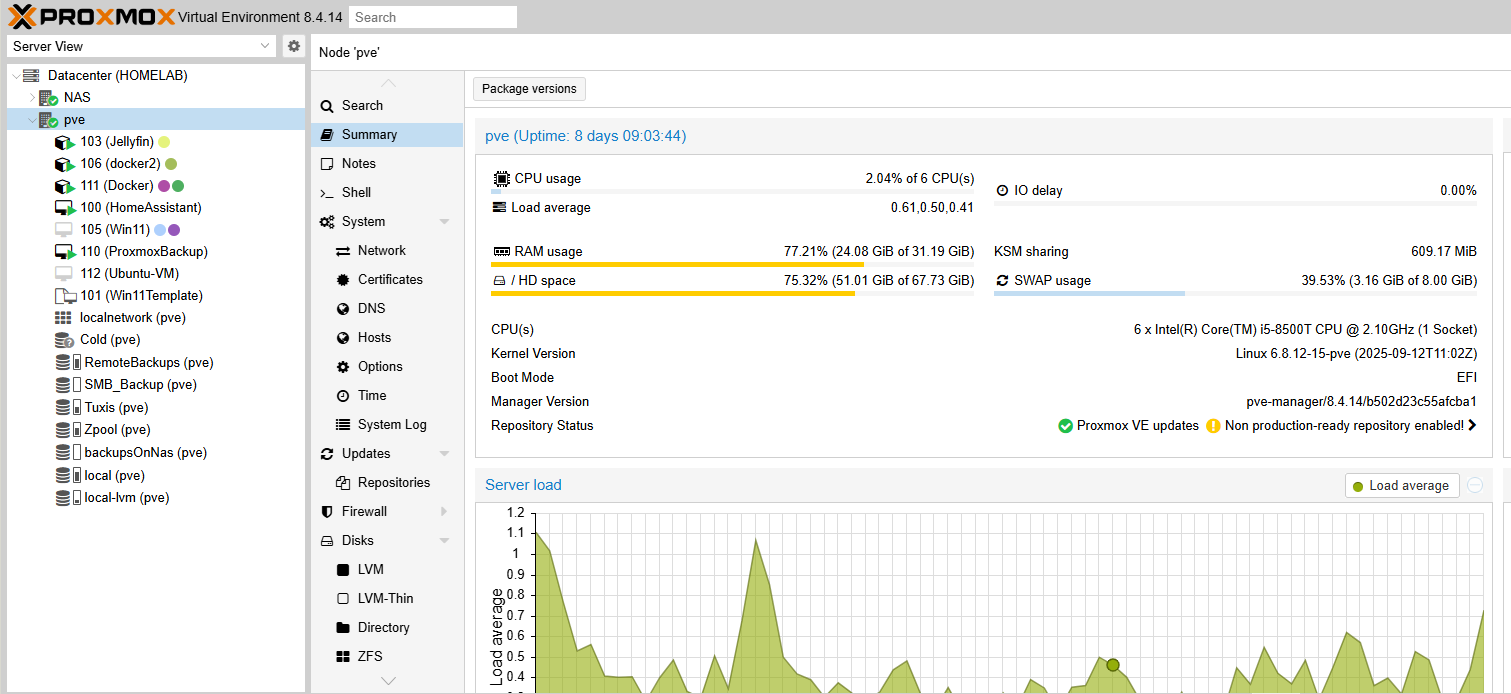
After a reboot, I could access the Proxmox dashboard from any device on my network using the configured IP address. Networking worked seamlessly, storage was recognized out of the box, and I spun up my first VM in minutes.
Life After Installation
Proxmox empowered me to:
- Host self-hosted services (like Nextcloud, Home Assistant, and media servers) in containers for maximum efficiency.
- Experiment with test VMs—breaking things and learning without fear.
- Create VLANs and isolated networks for security and experimentation.
- Take fast, reliable backups of each VM and container.
Conclusion: A Platform for Growth
The Lenovo Tiny PC + Proxmox combo is more than a server—it's a launchpad for learning, automation, and technical exploration. Proxmox's blend of power, flexibility, and usability is perfect for both newcomers and seasoned homelab techies.
If you're starting your homelab journey, I can't recommend this platform enough.
Ready to get started with Proxmox? Download it and join the vibrant homelab community!
Got questions or want to share your homelab setup? Add a comment below!