My First Proxmox VM: Installing Home Assistant OS

Introduction
Excited to share my journey into virtualized home automation! I recently set up Proxmox on a Lenovo Tiny PC, and the first virtual machine I spun up was the ever-popular Home Assistant OS. Here’s how it went and some tips for fellow Moroccan homelabbers.
Why Home Assistant?
Home Assistant is one of the most flexible, privacy-focused platforms for smart home automation. Here are some reasons why I (and many others) chose it as the centerpiece of my home automation setup:
- Local Control: Automations run locally, independent of the cloud—faster, private, and secure.
- Wide Device Support: Integrates with thousands of smart home devices including lights, switches, sensors, thermostats, and more.
- Free & Open Source: Fully free, constantly improved by a passionate global community.
- Custom Automations: Powerful routines and scripts—control nearly anything, exactly how you want.
- Expandable: Add-ons for advanced features—MQTT, Node-RED, Zigbee2MQTT, and more.
- User-Friendly Dashboards: Beautiful, customizable UI for easy monitoring and control—accessible from any device.
- Vibrant Community: Large forums, Discord, YouTube channels, and user groups offer help and inspiration.
Step-by-Step: Installing Home Assistant OS on Proxmox
1. Prepare the VM in Proxmox:
- Log into the Proxmox web interface (usually
https://your-proxmox-ip:8006). - Click Create VM and name it (e.g.
homeassistant). - Choose the VM ID (default will be 100 for the first VM).
Photo: Proxmox dashboard with your new VM ("homeassistant") selected.
2. Download the Home Assistant OS Image:
- Grab the
.qcow2or.imgfile from Home Assistant’s alternative install page. - Upload it to Proxmox’s storage (step-by-step here).
3. Import the Disk & Configure VM:
- Use Proxmox shell to import the disk (for example:
qm importdisk 100 hassos_ova-*.img local-lvm). - Set boot order to use the newly added disk, disable unnecessary devices.
- Assign CPU, RAM (4GB is plenty), and network (virtio recommended).
- Start the VM!
4. First Boot & Setup:
- Open
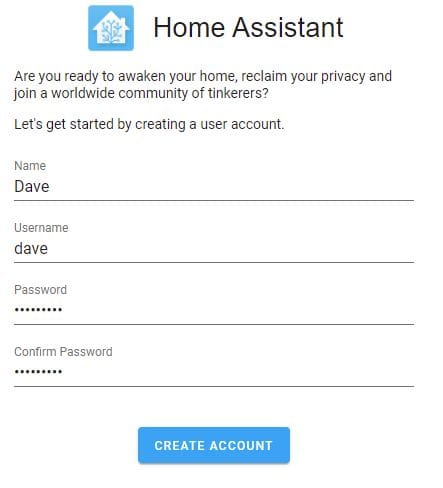
http://<VM-IP>:8123in your browser. - Complete initial configuration—set language, location, currency, and create your admin account (walkthrough video).
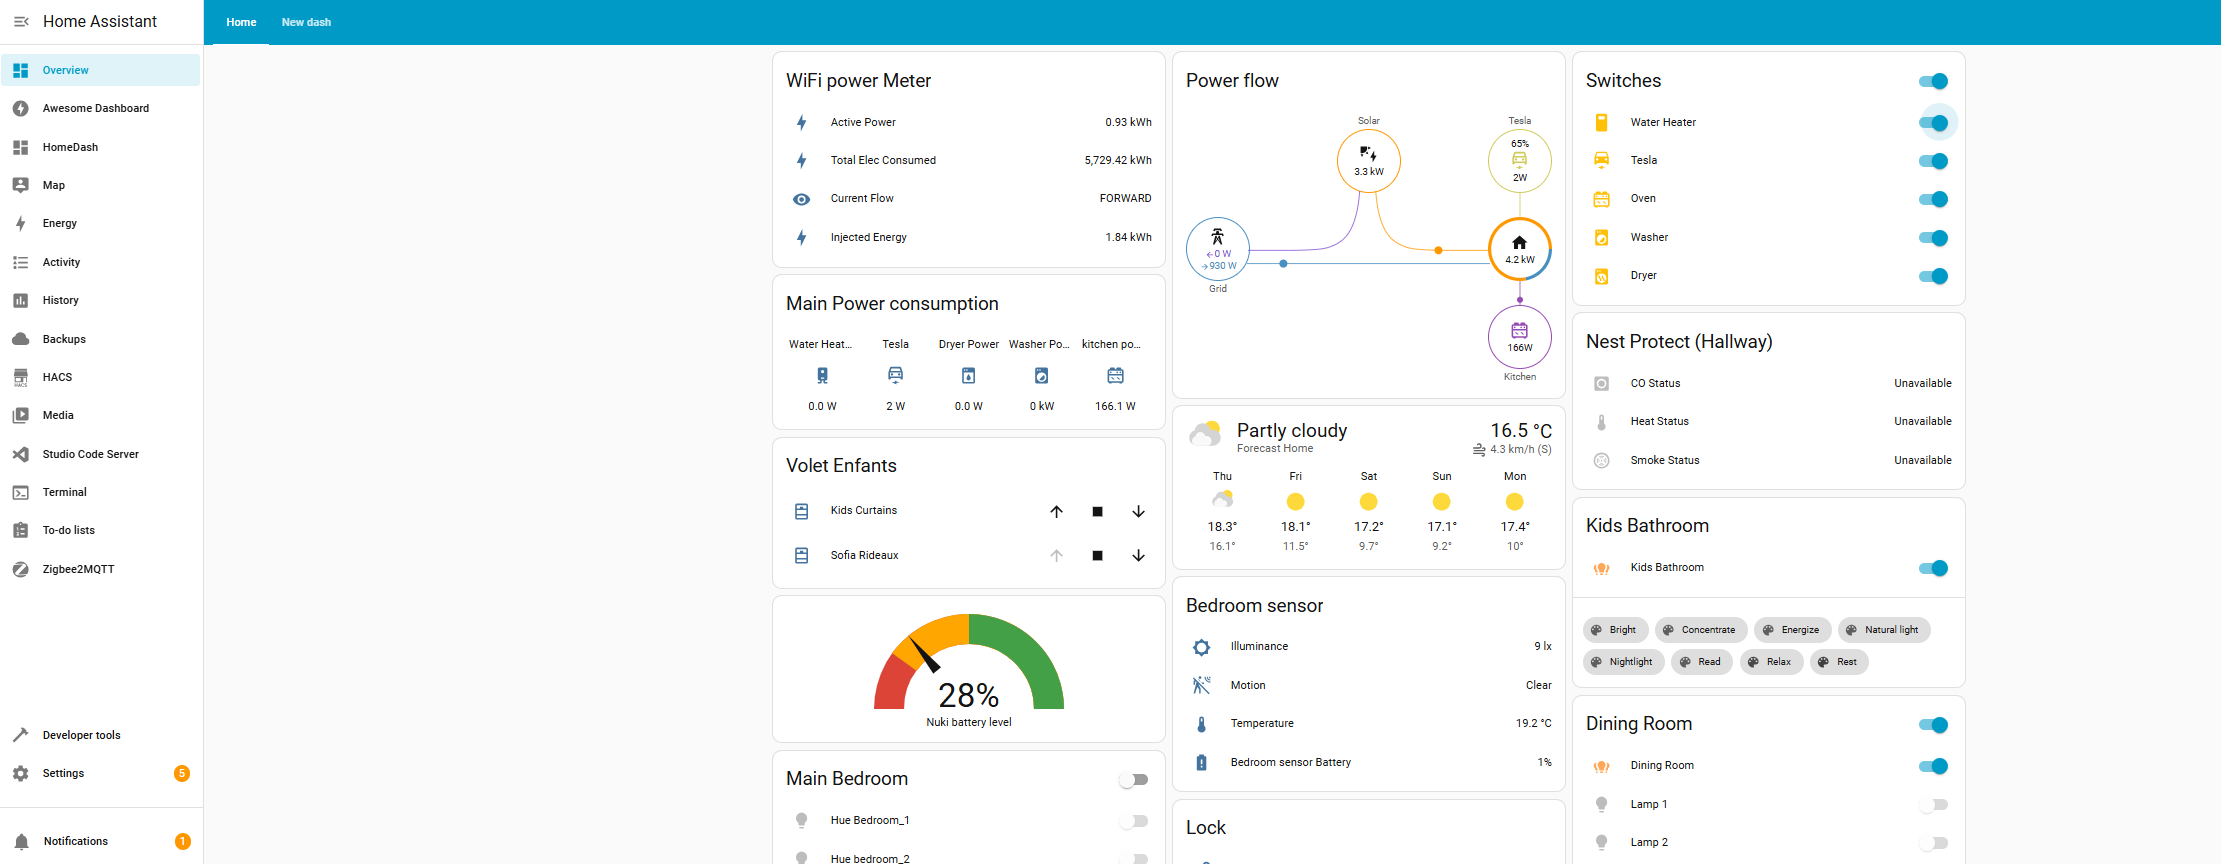
- Home Assistant finds loads of smart devices on your network right away!
Initial Impressions
- Performance: The VM runs snappily even with default settings. No pass-through needed at first—makes future migrations easier.
- Discoveries: Within minutes, Home Assistant detected my local smart plugs, Solar System Inverter, Smartlocks, Vacuums and even Alexa integrations (see Alexa HA integration).
- Next Steps: Plan to integrate my EV, create Automations and Dashboards to monitor Power consumption - a LOT more!!!
Why Virtualize Home Assistant?
- Backups: Leverage Proxmox’s backup tools for full VM snapshots (Proxmox Backup Server).
- Flexibility: Easily move or scale your HA instance as your homelab grows.
- Isolation: No risk of home automation tinkering impacting other services.
Final Thoughts & Advice
For Moroccan homelabbers thinking of taking the plunge, this combo is unbeatable. If you run into network, storage, or integration issues, our local community is a great help.
Join the discussion: blog.smarthomes.ma | WhatsApp group links soon!
Additional Resources
- Proxmox Official Docs
- Home Assistant OS Install Guide
- Video: Step-by-Step VM Setup (YouTube)
- Integrating Proxmox with Home Assistant